Felting wool by hand feels, the first time, like getting away with something. You take a cloud of loose fibre, wet it and rub it, and it turns into fabric that will not come apart. Or you take the same cloud, stab it with a barbed needle a few hundred times, and a small solid shape appears under your fingers. Same material, two very different crafts.
That is the first surprise for beginners: wet felting and needle felting share a word and almost nothing else — not the tools, not the rhythm of the work, not the look of what comes out. Here is what actually separates them, so you can pick one with your eyes open instead of buying a starter kit and discovering you hate water.
What Is Happening to the Wool
Wool fibre has tiny overlapping scales along its length, like roof shingles. Push them the wrong way and they grip each other; add warmth and moisture and the fibre becomes pliable enough to migrate and lock. The result is felt: dense, non-woven, and stable without a single stitch.
Both methods rely on that same tangle. Wet felting persuades an entire mass of fibre to lock at once, using warm water, soap and movement. Needle felting forces it locally, one small area at a time, with barbs that push individual fibres down through the layers. Think of it as feltmaking in bulk versus feltmaking in detail.
Tools and Materials
Neither method requires much, which is part of the appeal.
Wet felting
- Loose wool: roving, batts or carded sliver. Merino felts quickly and softly; coarser breeds are slower and sturdier.
- Warm water and a mild soap — olive oil soap or a little gentle detergent.
- Bubble wrap or a bamboo blind to roll in, and a net curtain to keep stray fibres in place.
- Old towels, a spray bottle, and a surface you don't mind soaking.
Needle felting
- Felting needles in two or three gauges: coarser for blocking out shapes, finer for surface work.
- A thick foam pad or brush mat to stab into.
- Roving, plus a little core wool if you want solid shapes.
- Leather finger guards, at least while you are learning.
One practical note: felting needles are brittle. They snap if you stab at an angle and they blunt after a few hours of work. Buy more than you think you need.
The Process, Side by Side
Wet felting
You lay out fibre in thin, overlapping layers, alternating direction, until you have an even batt. Then the physical part begins.
- Soak the layout with warm soapy water. Press, don't stir.
- Cover with net, press out the air, then rub in small circles to start the tangle.
- Roll the bundle in bubble wrap or a blind, with a towel underneath, and roll it back and forth, turning the piece regularly.
- Check for thin patches, add fibre where needed, and keep rolling until the fabric holds.
- Rinse in warm water, dry in a towel, and leave flat to finish drying.
Needle felting
Quiet work, done in short strokes.
- Pull off small tufts of fibre — never cut roving — and place them on the foam pad.
- Stab straight down, repeatedly, in one area until the fibres mat together.
- Add tufts gradually to build volume, turning the piece to keep density even.
- Switch to a finer needle once the shape is firm, for detail and a cleaner finish.
Texture and Surface
Wet felting produces something that behaves like cloth: pliable, drapeable, slightly velvety, and able to be fulled — shrunk and thickened — so it holds a shape. You can make a seamless vessel over a resist, or a scarf with an edge that needs no hem. Surfaces can be almost leathery and smooth, or deliberately nubby with added locks.
Needle felting is sculptural. It reads as solid, with a matte, faintly chalky surface and the characteristic dimple where the needle entered. Very fine detail is possible — a beak, an ear, a flower centre — and you can build volume that wet felting cannot easily reach. On thin areas, though, needle-felted shapes can be fragile, and overworking one spot compresses the fibre until it goes hard.
Which Method Suits Which Project
A rough rule: flat and worn gets wet, small and shaped gets a needle.
- Choose wet felting for: scarves, wraps, wall hangings, bags, slippers, hats, rugs, seamless vessels — anything that needs a continuous surface of cloth.
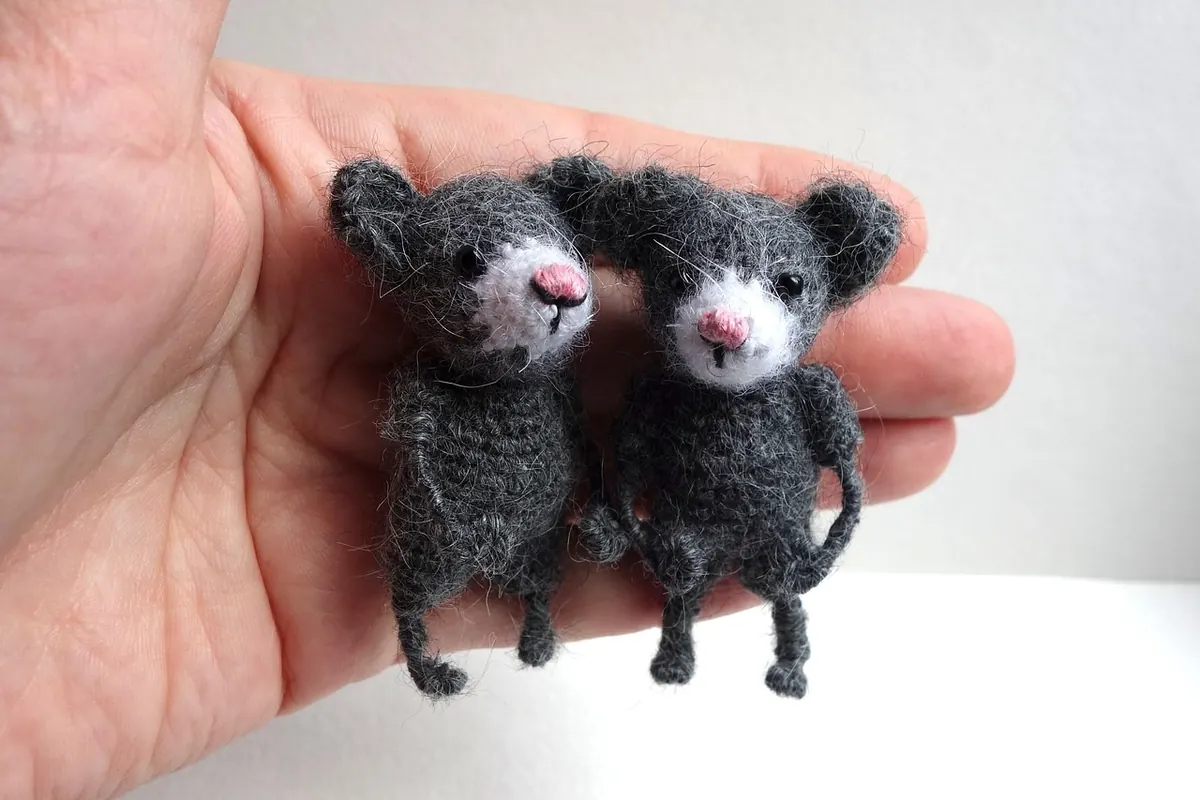
- Choose needle felting for: small animals and figures, brooches, beads, doll faces, and adding colour or detail to an existing felted or knitted piece.
- Use both: a wet-felted base with needle-felted detail on top is one of the most satisfying combinations in the craft. The flat worker gets structure; the sculptor gets a canvas.
Beginners often assume needle felting is the easier entry point because it looks tidy. It actually rewards patience more — a shape cannot be rushed, and impatience shows up as a lumpy surface. Wet felting forgives a rough start: a thin patch can usually be fixed by adding fibre and rolling again.
Time, Space and Mess
Wet felting happens in sessions. You clear a table, lay out towels, get wet, roll, rinse, then wait overnight for the piece to dry. The work is physical and sometimes repetitive, but the payoff comes in volume: a finished scarf in an afternoon is realistic once you know the movements.
Needle felting is portable and interruptible. No water, no drying rack, no clearing the kitchen — you can stop mid-shape and put it away. The trade-off is speed. A small figure can take hours of steady stabbing, so take breaks and don't grip the needle too tightly; hands and wrists complain quickly when you are new.
Common Beginner Mistakes
- Using too little wool in a wet-felted layout, leaving thin spots that tear later.
- Water that isn't warm enough, or far too much soap, both of which slow the felting down.
- Rubbing hard too soon, before the fibres have settled, which shifts your design.
- Stabbing at an angle into a shallow pad, which breaks needles and dulls the barbs.
- Working needle-felted fibre in big clumps instead of thin tufts, giving a bumpy surface.
- Skipping finger guards and learning the lesson the sharp way.
How to Choose Your First Project
Pick one method, buy the minimum, and finish something small. If you like water, texture and the small drama of opening a rolled bundle, spend an afternoon on a wet-felted sample around the size of a notebook before committing to a bag. If you like precision and quiet, get a pad, two needles and a small bag of roving, and make a simple ball, then a mushroom.
Then try the other one, at least once. The two methods teach different things about the same fibre, and most people who stay with felting end up using both: wet felting for the cloth, needle felting for the character. Start where your patience is, and let the wool do the rest.
Photo: Nadejda1985 / Pixabay