A pair of jeans usually announces its retirement in a small, specific place. A knee goes pale, then thin, then translucent. The corner of a back pocket frays against a wallet. The hem drags, softens, and finally opens along its fold. Most of us treat that moment as an ending. It can just as easily be a beginning — the point at which a garment stops being a standard-issue object and becomes a piece of cloth with a history you can see.
Visible mending works on that premise. Instead of hiding a repair, you make it the most considered thing on the garment: a field of running stitches in undyed cotton, a patched panel of darker denim, a geometric repeat that follows the shape of the damage. Sashiko, the Japanese tradition of reinforcing and warming cloth with rows of small running stitches, offers an unusually good set of tools for this. Its patterns were designed to cover area, add strength, and look intentional. That is exactly the job at hand.
Why Denim Rewards This Kind of Stitching
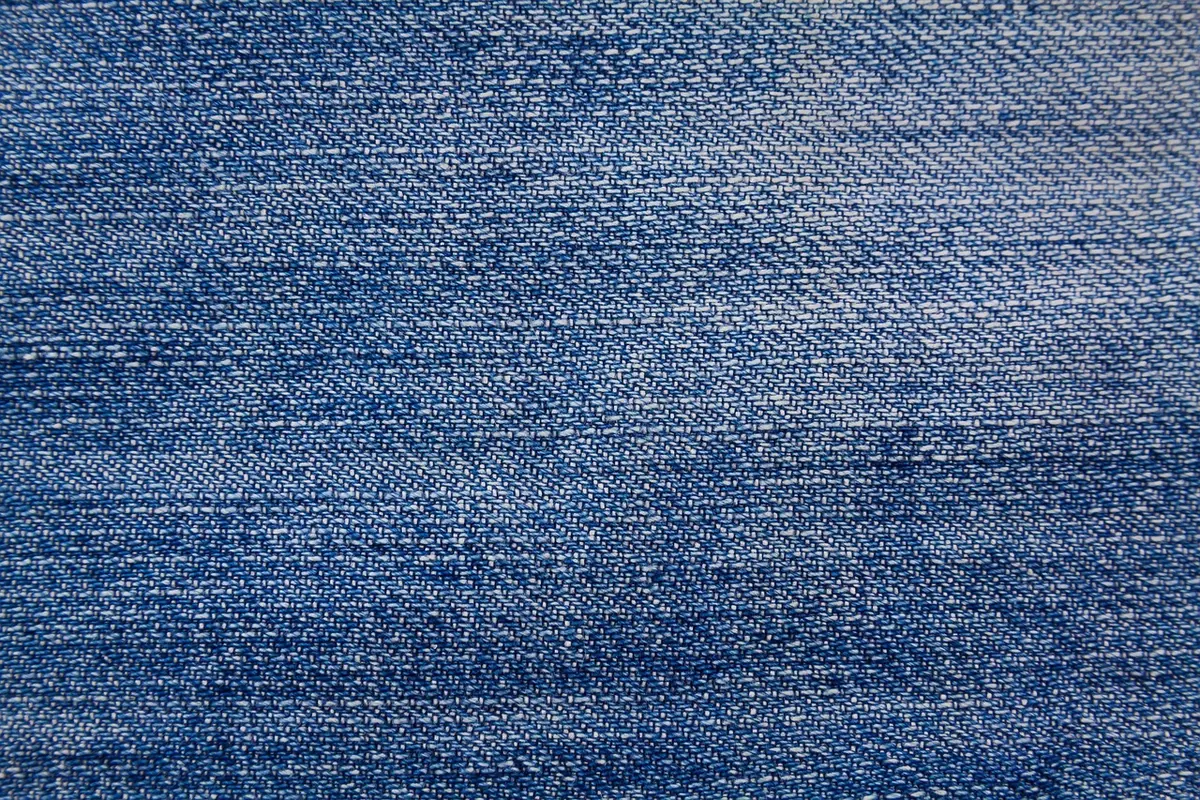
Denim is a twill, usually an indigo warp crossed by a natural weft, which is why it fades to a soft blue-white rather than to grey. Those pale areas are your gift. A heavier cotton thread in white, ecru, or a deep contrast colour sits clearly against them, and the diagonal grain of the twill gives your stitches something to line up with or deliberately cut across.
Worn denim also arrives with a drawing already on it. Honeycomb fading behind the knee, whiskers radiating from the hip, a rectangular ghost where a phone lives. Good menders read those marks before they choose a motif. A patch that echoes the shape of the wear, or a stitching pattern that continues a fade line outward, will look as though it belongs. One dropped in at random will look like a repair.
There is a history here worth knowing, not just borrowing. Sashiko developed as practical reinforcement on working clothes, and boro refers to textiles patched and re-patched over generations. The visual language is generous and available to anyone, but it carries the logic of thrift and use. Keep that logic: mend what is actually wearing out, layer where cloth is thin, and let the stitching do structural work as well as decorative work.
The Vocabulary: One Stitch, Many Patterns
The running stitch is the entire grammar
Small, even, slightly spaced stitches on the front; longer skips on the back. That is essentially all sashiko asks of you. Aim for stitches about the length of a grain of rice, with gaps roughly the same size. The spacing matters more than perfect uniformity — a visible rhythm reads as handmade, while anxious, cramped stitches look tight and stiff.
Two habits make the difference between cloth that drapes and cloth that stands up on its own. First, do not pull the thread taut at the end of each run; leave a whisper of ease so the fabric can still move. Second, learn to turn a corner without a knot, either by running the thread under a stitch on the reverse or by starting with a small backstitch buried under a patch.
Patterns worth learning first
- Juji-zashi (crosses): a simple grid of plus signs. Forgiving, fast, and ideal for a large thin patch on a knee.
- Kikko (tortoise shell): a hexagon repeat built from parallel rows offset against each other. Strong and graphic; good for a rectangular panel.
- Seigaiha (waves): concentric arcs, drawn as overlapping fans. Works beautifully on a curved area such as a pocket corner.
- Asanoha (hemp leaf): radiating lines in a six-pointed structure. Beautiful but demanding — save it for a repair you will enjoy looking at.
- Scattered dots: single small stitches placed at intervals. The quietest option, and often the most elegant on a delicate fray.
What to Keep in the Mending Tin
You need less than you think. A spool of sashiko thread or a smooth, firmly plied cotton in a weight heavier than standard sewing thread. Sashiko needles, which are long with a large eye, so you can load several stitches on the needle at once. A thimble that fits the middle finger of your stitching hand. Sharp small scissors. A water-soluble marker or a chalk pencil. A rubber disc or needle pull, because denim is dense and your fingertips will complain.
For backing cloth, choose cotton or a light linen that has already been washed, so it will not shrink away from the denim later. Old sheeting, a worn shirt, or a scrap of contrasting denim all work. Press it before you cut.
Composing the Repair
Think about placement the way you would think about a print on a garment. A patch on the inside of the leg keeps the stitching visible only when you sit or move — a private pleasure. A patch stitched onto the outside of the knee is a statement, and it will be seen from across a room. Neither is better; decide which conversation you want to have.
Scale is where most first attempts go wrong. A tiny motif floating on a large faded area looks accidental. Either commit to a patch big enough to carry the pattern, or keep the stitching small and let it read as a delicate repair. Leave quiet space around the work: a dense stitched panel needs a plain neighbour to look deliberate.
One practical warning. Avoid laying dense, heavy stitching across the crotch or inner thigh, where the cloth flexes constantly. Stiffened fabric there can pull on the surrounding denim and start a new tear beside your beautiful repair. Save the elaborate patterns for areas that move less.
A First Knee Patch, Step by Step
- Wash and dry the jeans. Stitching on dirty, stiff denim is unpleasant and the marks you make will be inaccurate.
- Turn the garment inside out and look at the damage in good light. Trim away loose threads but leave the edges of the hole intact — they become part of the texture.
- Cut a backing patch that extends at least two centimetres past the worn area on every side. Rounded corners sit flatter than square ones.
- Pin or baste the patch behind the hole, right side facing out through the tear.
- Mark your pattern on the front with a water-soluble marker, starting from the centre of the patch and working outward. Do not worry about drawing every line perfectly; the stitching will forgive you.
- Thread your needle, knot the end, and bring it up through the backing patch so the knot is hidden between the layers. Begin with a small backstitch.
- Work the pattern in short sessions. Denim is hard on the hands; twenty minutes at a time is plenty, and the rhythm improves as you go.
- Finish by running the thread to the back, taking two small backstitches through the patch only, and trimming close. Rinse the marker out according to its instructions and press the repair face down on a towel.
Making It Look Like Art Rather Than Accident
Follow the wear
Let the damage propose the design. A vertical rip invites a column of stitches or a rising line of dots. A round hole in a pocket corner suits a fan of arcs. A long horizontal fray along a hem asks for a band of pattern. When in doubt, extend the existing line of damage rather than covering it up.
Use value before colour
Contrast does more work than hue. White thread on faded blue is the classic and still the clearest. If you want colour, one strong accent against neutrals will read better than three competing shades. Consider stitching in a tone close to the denim for a repair that reveals itself only up close.
Stop earlier than feels finished
Most decorative mending fails by addition. A second motif, then a third, and the garment becomes a sampler with no focus. Decide where the eye should land, do that well, and leave the rest of the cloth alone. The confidence of an empty area is what separates a composition from a collection.
Start With the Pair You Have Been Avoiding
Pick the jeans sitting at the bottom of the pile. Mend the smallest weak spot first, even if it is only a thinning knee or a frayed pocket edge, and treat it as practice rather than a masterpiece. Small repairs done early are quicker, less visible, and stop a hole before it becomes a design problem you have to solve.
Wash the finished garment inside out, in cold water, and air dry it — heat is unkind to cotton thread and to indigo alike. Keep a small box for patches and leftover thread so that mending is a ten-minute habit rather than a project. And keep the garment in rotation once it is repaired; a patch that has been through forty washes, softened and faded along with the denim around it, is the real point of all this. The cloth keeps its history, and you get to keep wearing it.
Photo: stux / Pixabay