The first time a dyed length comes out blotchy, or a painted panel cracks along a fold, it is tempting to blame the pigment. More often the cloth was the problem: a stubborn sizing, a softener still sitting in the weave, or an optical brightener quietly shifting every colour you mixed. Preparation is unglamorous work — washing, testing, waiting for things to dry — but it is the part that decides whether the beautiful part lasts.
What follows is the sequence used in studios where cloth is worked in quantity and in ones and twos. Nothing here needs special equipment beyond a pot you do not cook in, a thermometer, and the willingness to make a few small samples before committing a metre of good linen to the unknown.
Know What You're Working With
Two questions come first, and they are not optional. What is the cloth made of, and what has been done to it since it was woven?
Fibre content governs everything downstream: temperature, pH, which dyes will bond and which will merely sit on the surface. A cotton-linen blend scours differently from a silk habotai, and a polyester blend that looks like cotton will refuse most natural dyes outright. If the label is missing, cut a small snippet, hold it with tweezers over a saucer and light it. Plant fibres smell of burning paper and leave soft grey ash; protein fibres smell of singed hair and leave a crushable bead; synthetics melt and leave a hard one. Do this outdoors or by an open window, and keep water nearby. When in doubt, ask the supplier for the technical sheet — good ones will tell you exactly what has been applied.
Then think about the finish. Most commercial fabric has been sized, softened, calendered, or treated with stain release and optical brighteners. Sizing feels like a slight stiffness and reads as a sheen that isn't quite the weave's own. A drop of water tells you a great deal: if it beads and sits, something is resisting — and that same something will resist paint and dye.
The Ten-Point Checklist
Work through this in order. It reads quickly; doing it takes an afternoon.
- Identify the fibre — by label, by burn test, or by asking the supplier directly.
- Note the finish — sizing, softeners, water repellents, brighteners. The water-drop test is your quick check.
- Pre-shrink — wash the cloth the way the finished piece will eventually be washed, so the dimensions you cut today are the ones you keep.
- Cut test squares — two, from different parts of the length, and leave one untreated as a control.
- Scour — remove oils, waxes, dirt and manufacturing residue.
- Rinse until the water runs clear, then rinse once more. Detergent residue dulls colour.
- Neutralise — a splash of white vinegar in the final rinse after an alkaline scour on cellulose, then rinse again.
- Bleach only if necessary, and only with oxygen bleach; chlorine weakens cellulose and damages silk and wool.
- Apply sizing or mordant — two different jobs, chosen according to whether you are painting or dyeing, and both tested first.
- Dry flat, press, label and store dust-free, rolled rather than folded where the piece is large.
Scouring Without Guesswork
Scouring is washing with intent. It removes the pectins, waxes and spinning oils that stop water — and therefore dye and paint — from penetrating the yarn evenly.
Cellulose: cotton, linen, hemp
Fill a pot with hot water, add roughly a teaspoon or two of soda ash (sodium carbonate, sold as washing soda) per litre along with a small squeeze of non-ionic detergent, and stir until dissolved. Baking soda is not a substitute; it is too mild to shift cotton's waxes. Add the wetted fabric, bring to a gentle simmer and hold for about an hour, stirring now and then with a wooden spoon. Let it cool in the pot rather than plunging it into cold water, which sets creases. Then rinse thoroughly.
Protein: wool, silk
These fibres hate sudden change. Use lukewarm water, a mild pH-neutral soap, and no soda ash, which roughens the surface and dulls silk's lustre. Soak gently for twenty to thirty minutes, press the water through with your palms rather than wringing, and rinse at the same temperature. Wool agitated in hot water will felt, and no amount of careful dyeing will undo that.
Sizing Versus Mordant: Two Different Jobs
Keep these separate in your head. A mordant is a metal salt that forms a bridge between fibre and dye, making colour stay and often deepening it. Sizing is a film former — starch, gelatin, or a modern acrylic medium — that stops paint bleeding along the weave and gives a brush something to bite.
If you're dyeing
Cellulose usually wants a tannin pre-treatment before alum, because alum alone bonds poorly to plant fibres; protein fibres take alum readily. Follow the supplier's ratio for your chosen dye and fibre, and remember that fibre-reactive dyes need an alkali fixative rather than a mordant at all. Whatever the system, mordant a test square first and check the resulting colour before you treat the whole length.
If you're painting
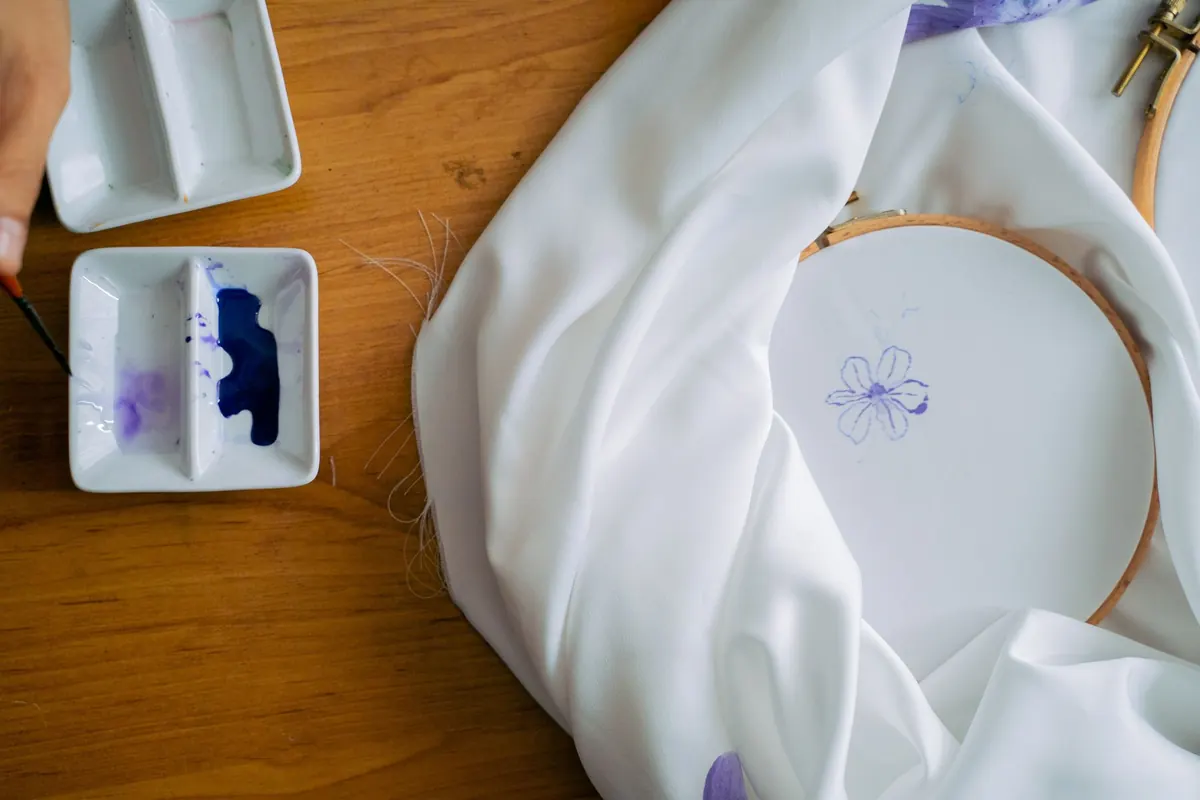
Scour, dry, then decide. Tightly woven cotton and linen take acrylic textile paint well with little extra preparation, especially when you work with a fabric medium; loose weaves and silks may need a light sizing to control bleeding. Iron the cloth flat before painting — creases become faults the moment paint dries across them — and work on a padded board covered with plastic so paint does not strike through to your table.
Test Before You Commit
Small tests save whole lengths. Run the same set on your untreated control and your prepared square:
- Absorbency: a drop of water should spread and sink within a few seconds, not sit on top.
- Colour: apply dye or paint to both squares and compare. A duller result on the prepared one tells you something in the finish is still fighting you.
- Adhesion: once the paint is cured, press tape across it and pull. Paint that lifts was never bonded.
- Heat setting: iron a corner through a press cloth, then check whether colour and hand survive.
- Rubbing: after setting, rub a damp white cloth over the surface to see how much colour transfers.
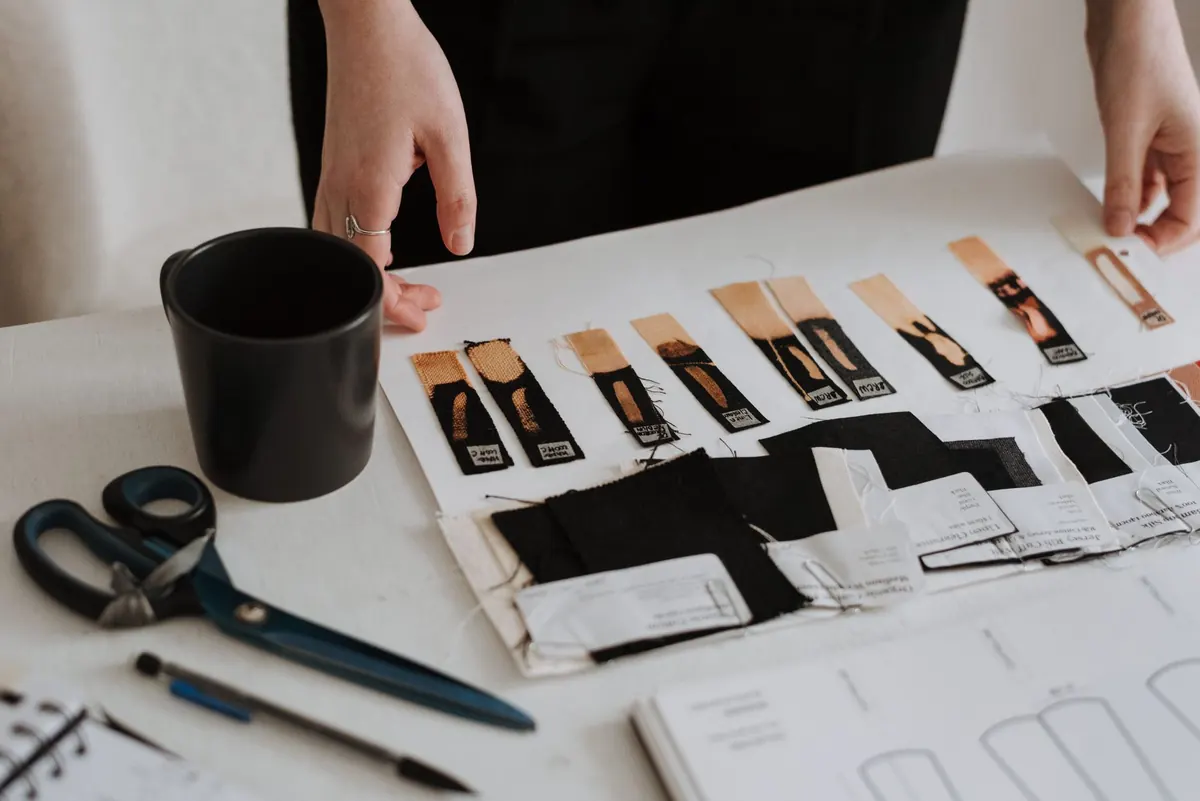
Record the results — fibre, treatment, product, time and temperature — on a tag pinned to the sample. In six months you will not remember, and the sample will be the only honest witness.
A Last Pass Before You Begin
Dry prepared cloth flat or on a line out of direct sun, which yellows whites and fades dyed grounds. Skip fabric-softener sheets in a tumble dryer entirely; that silicone film is exactly what you spent the afternoon removing. Press on the reverse while slightly damp, using the setting the fibre deserves.
Mordanted cloth keeps best rolled in cotton or acid-free paper, away from light. If it has been sitting for months, re-wet a corner and test before trusting it. And keep the workspace honest: ventilate, wear gloves, and read the instructions for anything you mix. If you have sensitive skin or a respiratory condition, take advice from a professional before working with mordants or solvent-based products.
Then lay the cloth out, look at it under the light you will actually work in, and begin. The half hour of preparation is the difference between a surface that holds and one that quietly gives up a year later.
Photo: Anete Lusina / Pexels