A dye garden can be small enough for a balcony and still supply a year of colour. Three pots of marigolds, a patch of Japanese indigo, a row of weld: that is already a palette. The trick is choosing plants that suit your light and your patience, then working with the seasons instead of against them. What follows is a plan for the first year — what to grow, when to pick it, and how to turn a bundle of leaves into a dye bath that actually colours cloth.
Start With Plants That Suit Your Space
Dye plants are ordinary plants. Most want what any flowering annual wants: six hours of sun, decent soil, steady water. The difference is that you grow for pigment rather than for the prettiest bloom, which changes how you feed and when you cut.
Sunlight matters more than fertility. Rich, heavily composted ground pushes soft leafy growth at the expense of the compounds that make colour, so treat dye beds a little meaner than the vegetable patch. In pots, use a loam-based compost with grit and water consistently: plants that dry out and recover repeatedly give weaker dye.
Reliable plants for a first season
- Marigold (Tagetes) — fast from seed, flowers for months, gives warm yellows and soft oranges. Deadhead to keep it blooming.
- Coreopsis — rusty orange and gold from the flowers; drought-tolerant once established.
- Cosmos sulphureus — clear orange and gold; sow direct in late spring and pick flowers young.
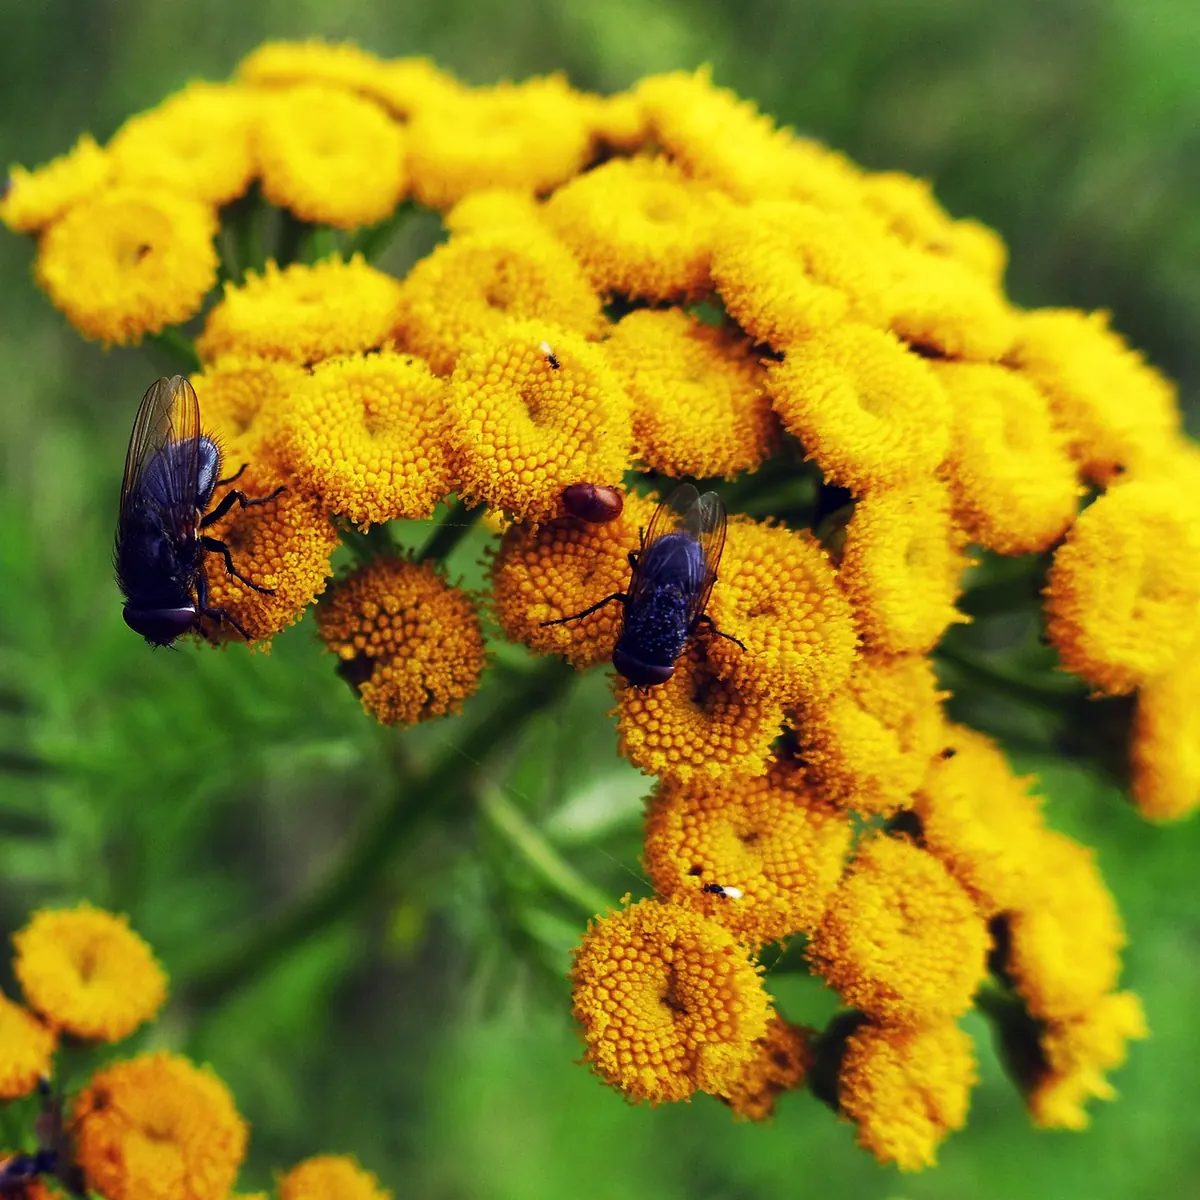
- Dyer's chamomile (Cota tinctoria) — masses of yellow daisies on a plant that tolerates poor, dry soil.
- Hollyhock — the darkest maroon-black flowers give mauves and soft greens; a biennial, so sow two years running.
- Japanese indigo (Persicaria tinctoria) — the one true blue for a small garden; an annual, started indoors, cut two or three times a summer.
- Onion skins — kitchen waste rather than a crop, but worth collecting from day one.
Two plants reward a longer commitment: madder for reds from roots, which needs two or three seasons before the first worthwhile harvest, and weld for the clearest yellow, sown in late summer to flower the following year. Woad is beautiful and self-sows with enthusiasm; check whether it is listed as invasive where you garden before letting it set seed.
Map the Year Before You Sow
Dye colour is a harvest, and harvests have dates. Work backwards from the pots you want to fill.
- Late winter — order seed, clean pots, work out which beds get full sun. Start indigo and hollyhock indoors under cover.
- Early spring — sow weld, dyer's chamomile and marigold. Plant madder crowns if you are starting a long-term bed, and give it room to run.
- Late spring — direct-sow cosmos and coreopsis once the soil has warmed. Pinch out indigo to make it bushy.
- Early summer — first indigo cut. Pick marigold and coreopsis flowers weekly; the more you take, the more the plants make.
- Midsummer — main flower harvest, dried in small batches rather than one glut. Second indigo cut.
- Late summer — sow weld for next year, collect hollyhock flowers, take a third indigo cut before the first cold nights.
- Autumn — lift madder roots from beds sown two or three years earlier, pull annual indigo plants whole, strip leaves from anything still standing.
Write these dates in a diary, but treat them as prompts rather than rules. A cold spring shifts everything by a fortnight, and a plant cut a week early usually gives better colour than one left to fade.
Harvest at the Right Moment
Most dye plants are strongest just as they come into flower — with one important exception. For leaf dyes, cut before the buds open, while the plant's energy is still in the foliage. Once it sets seed, the colour in the leaves drops noticeably.
Pick flowers in the morning, after the dew has dried but before the afternoon heat. Open blooms give more colour than buds, though flowers past their peak turn brown and dull in the pot. Roots are lifted in autumn, when top growth dies back and the pigment has moved underground. Never strip a plant bare: a third taken will regrow, a plant cut to the ground will not.
How much is enough?
A useful starting ratio is roughly equal weight of fresh plant material to dry fibre — 100g of marigold flowers for 100g of wool. Dried material is more concentrated, so about half that weight will do. Weigh everything; guessing is how dye pots turn pale.
Dry, Store and Label Everything
Spread flowers and leaves thinly on racks in a warm, dark, airy room until crisp rather than leathery. Store in paper bags or glass jars away from direct light, labelled with plant, part and date. A jar of anonymous brown flakes is useless by February, so write the label before you fill the jar — in pencil if the contents are not fully dry.
Your First Dye Bath, Step by Step
- Weigh and prepare. Weigh the dry fibre and the dye material. Soak tough material such as roots or bark overnight in soft water; rainwater is better than hard tap water.
- Simmer the dye. Bring the plant material to a gentle 80–90°C — small bubbles at the edge of the pot — and hold for 45 to 60 minutes. A hard boil dulls some colours.
- Strain, then wet the fibre. Strain the liquid into a clean pot and soak your mordanted fibre in warm water so it takes up dye evenly.
- Dye gently. Add the fibre and keep the bath at 80–90°C for 30 to 60 minutes, stirring slowly and occasionally.
- Cool in the bath. Turn off the heat and leave the fibre in the liquid as it cools, sometimes overnight. Much of the depth arrives at this stage.
- Rinse and dry. Rinse in water of gradually changing temperature until it runs clear, then dry in shade.
Mordants and pots, briefly
Protein fibres such as wool and silk take alum well; a common starting point is 10–15% of the fibre's dry weight, dissolved in hot water, with the fibre simmered for an hour and left to cool. Cotton and linen hold colour less readily and usually want a tannin pre-treatment — oak bark, galls or very strong tea — before the alum. Iron water, made by leaving rusty nails in water and vinegar for a few weeks, shifts colours toward grey and green and should be used sparingly, as too much makes wool brittle.
Keep dedicated pots, spoons and buckets for dyeing and never use them for food. Stainless steel and enamel are safe; aluminium and cast iron react with the dye and change your colour. Some dye plants are toxic, madder root and woad leaves among them, so wear gloves, keep everything out of reach of children and pets, and work outdoors or in a ventilated space. If you are pregnant or unsure about handling a particular plant, ask a qualified professional before you start.
Keep a Dye Notebook
Record plant and part, harvest date,
Photo: anaterate / Pixabay