Three pieces of fabric can leave the same dye bath looking nothing alike. One carries the soft rings of a bound pebble, another the fine spiderweb of cracked wax, a third the sharp starburst of a spiral gathered with rubber bands. Shibori, batik and tie-dye are often lumped together as "resist dyeing", and technically they are cousins. In practice they ask for different tools, different dyes and quite different temperaments from the person making them. Knowing which is which saves you from wax where you wanted pleats, or a bucket of dye where you needed a needle.
One Principle, Three Approaches
Every resist method works on the same simple idea: physically block the dye from reaching certain areas of the cloth, then let the dye reach the rest. The character of the finished pattern comes from how the block is made. Thread pulled tight gives soft, feathered edges. Hot wax gives crisp lines and hairline cracks. Folded cloth and a rubber band give bold, symmetrical geometry with a halo of bleed.
The differences that matter in the studio come down to three things: how the resist is applied, which fibres and dyes it tolerates, and how much control you have over the final image.
Shibori: Shaping Cloth Before the Dye
Shibori is the Japanese family of resist techniques, and it is the most sculptural of the three. The cloth is manipulated first — bound, stitched, folded, twisted, clamped, pleated — and the shape itself does the resisting. Traditionally it is worked with indigo, which is why so much shibori has that deep, slightly greenish blue, but the techniques pair happily with other dyes.
Forms worth learning
- Kanoko — tiny points of cloth pinched and bound tightly with thread, giving rings that look like fawn spots. Slow, meditative, beautiful on fine cotton and silk.
- Itajime — cloth accordion-folded and clamped between two flat shapes, such as wooden boards or cut acrylic, producing repeating geometric blocks. The cheapest way to get a striking result.
- Arashi — fabric wrapped diagonally around a pole or pipe, compressed and bound, then dyed. The stripes look like driving rain.
- Nui — a running stitch pulled up tight before dyeing, which yields delicate outlines and is the closest shibori comes to drawing.
- Kumo — sections twisted and bound, creating radiating, spider-like circles.
Shibori rewards planning but tolerates improvisation. Its edges are never hard; there is always a soft gradient where the binding loosened. That is the point, not a flaw. It works best on smooth, relatively thin cloth that folds and gathers obediently: cotton lawn, linen, hemp, silk habotai, fine jersey. Bulky knits and thick wool fight the bindings and give muddy results.
Batik: Drawing With Hot Wax
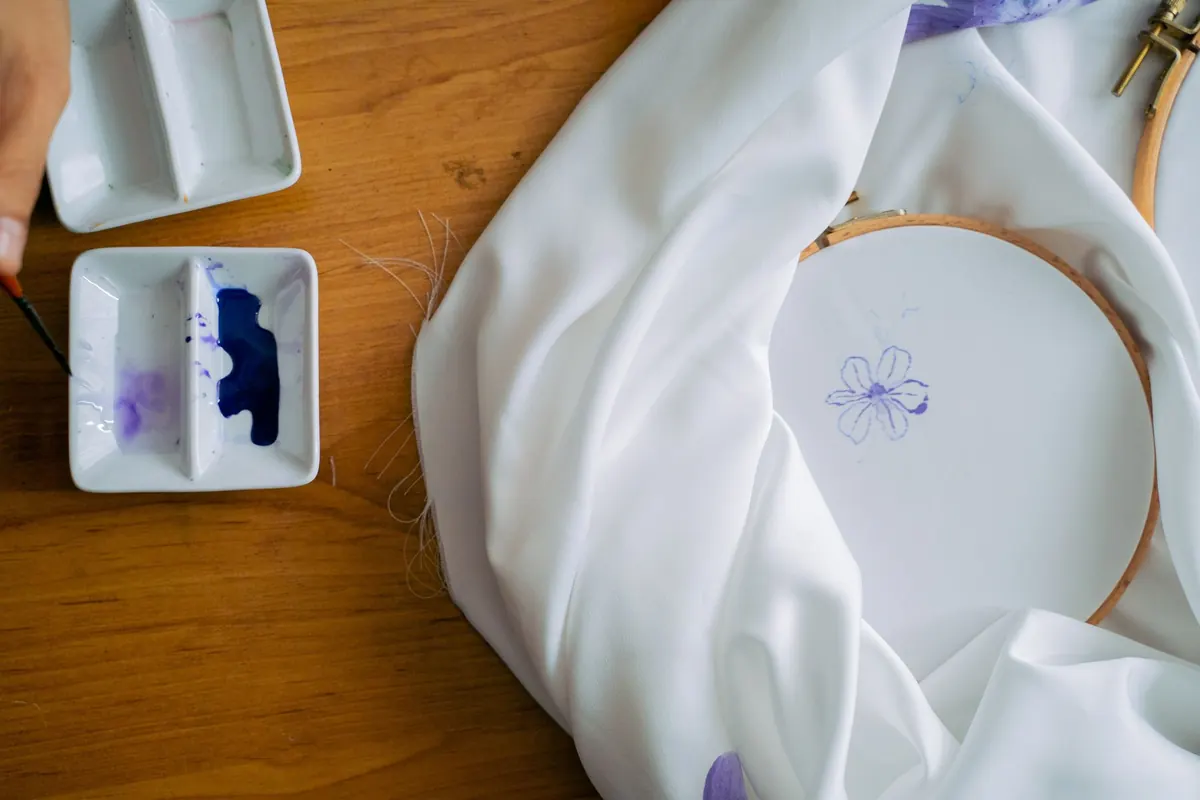
Batik is the Javanese tradition of using melted wax as a drawing medium. The wax is applied to the cloth — with a canting, a small copper pen for fine lines, with a brush for broader areas, or with a carved copper stamp for repeats — and it hardens, sealing those fibres. The cloth is then dyed. Where the wax sits, no colour gets in.
Its signature is the crackle: wax is brittle, and as the cloth is handled or gently crumpled during dyeing, hairline fractures let colour seep through. Those fine dark veins are what make batik recognisable at a glance. Control the crackle by handling the cloth more or less before it goes into the bath.
A simple batik sequence
- Wash the cloth to remove sizing, dry it, and press it flat. Wax will not penetrate a starched surface properly.
- Stretch or pin the fabric onto a frame so it stays taut while you work.
- Melt your wax in a dedicated pot or electric wax warmer, kept just liquid and never smoking. Work near an open window.
- Draw your design, working from the lightest colour areas outward, and let the wax cool and set.
- Dye in a cold-water bath, handling the cloth enough to produce the crackle you want.
- Dry, then remove the wax by ironing the cloth between layers of absorbent paper, or by dipping it in hot water. Repeat with fresh paper until no wax transfers.
- For multiple colours, rewax and redye, building from light to dark.
Batik suits smooth, tightly woven cellulose: cotton poplin, voile, cotton-silk blends, and silk habotai. It is less happy on brushed, napped or very textured surfaces, and on thick woollens where wax sits on the surface instead of soaking through. Hot wax and open flames do not mix, and melted wax is a scald risk — keep pots stable, never leave them unattended, and keep children at a distance. Reserve the pot, brushes and any utensils for wax only, and never use them for food afterwards.
Tie-Dye: Folding, Binding, Dunking
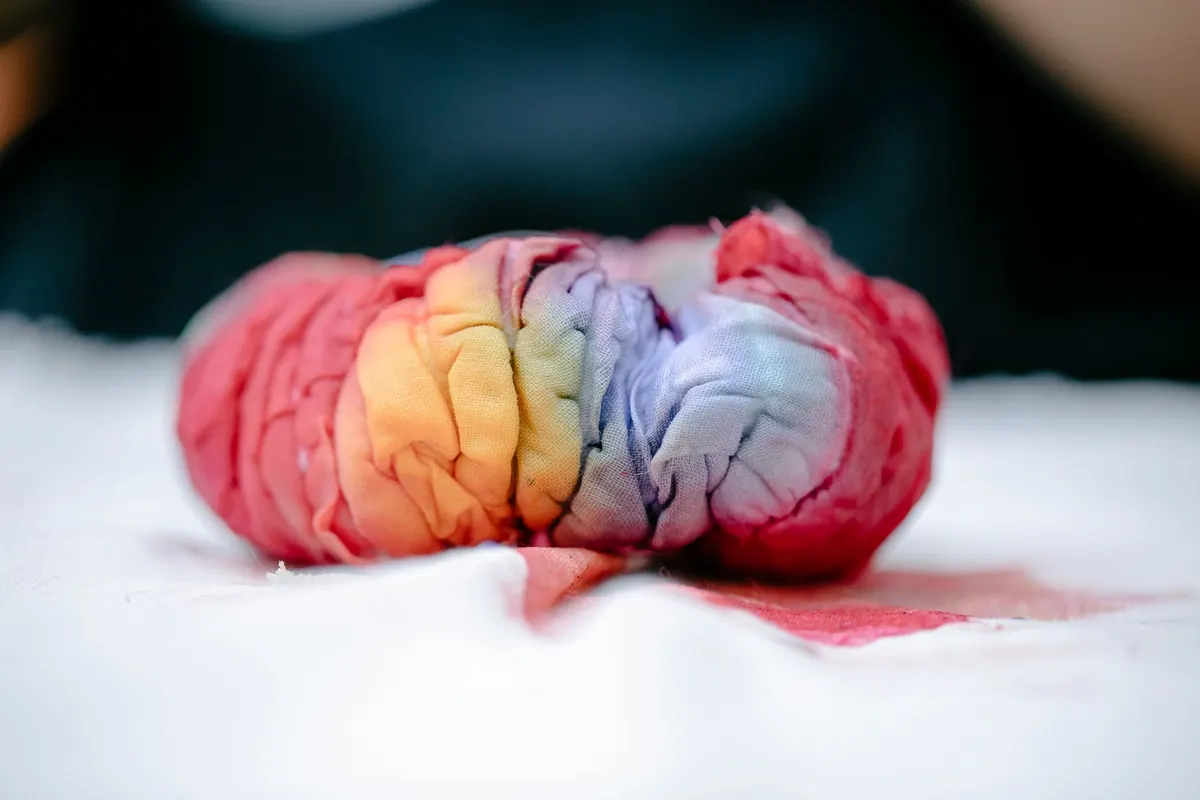
Tie-dye is the loosest and most forgiving of the three. Cloth is folded, twisted or pleated, then bound with rubber bands, string, sinew or clips. The bindings compress the fabric so dye cannot reach the interior of each bundle. Spirals, bullseyes, stripes, hearts and mandalas all come from the same logic: a fold plus a binding.
Contrast depends almost entirely on how tight you tie and how thoroughly you soak the cloth beforehand. A loose band means soft blurring; a tight double band means a crisp white ring. Tie-dye is also the most accessible method for a group, a classroom or a rainy Sunday, because it needs nothing hotter than a bucket.
Choosing the Right Dye for the Fibre
Shibori and tie-dye are dye-agnostic; batik is limited by what wax will stick to. But in every case the fibre decides the dye, and the dye decides the process.
- Cellulose fibres — cotton, linen, hemp, rayon — take fibre-reactive dyes, which form a chemical bond and stay bright through repeated washing. They need a soda ash pre-soak and time to batch.
- Protein fibres — silk, wool — take acid dyes, which need gentle heat and an acidic bath.
- Indigo works on both, but builds colour slowly in layers, which is why it suits shibori so well.
- All-purpose household dyes are convenient but generally less wash-fast; treat them as a shortcut rather than a standard.
Whichever route you take, wear gloves, ventilate the room, keep dyes and mordants away from food surfaces, and dispose of spent baths according to your local guidelines rather than tipping them onto the garden.
Matching the Method to the Project
Table linens and napkins. Itajime shibori on cotton or linen, dyed with a fibre-reactive colour. The flat cloth takes a crisp fold, the geometry reads well in repeat, and the results survive a hot wash.
Silk scarves. Arashi shibori on habotai, or nui stitching for something more delicate, using acid dyes. Silk shows the soft gradient of a bound resist better than almost anything else.
T-shirts, tote bags and children's workshops. Tie-dye, without question. Cotton jersey and canvas are forgiving, the mistakes look intentional, and the equipment list is a bucket, some bands and a pair of gloves.
Cushion covers and quilting panels. Batik, if you want a drawn image — a motif, a landscape, a repeat pattern with real line. Just wash the finished cloth thoroughly before you cut and sew; residual wax stiffens the fabric and dulls a needle.
Yardage for a garment. Shibori on linen or cotton lawn gives you a length of cloth that behaves predictably when cut. Dye a sample first and measure the shrinkage, because gathered cloth takes up more dye bath space than you expect.
Wall pieces. Batik gives you the most pictorial control; large-scale shibori gives you atmosphere with far less planning.
Before You Commit, Dye a Sample
Take a quarter-metre of your actual fabric — not a scrap of something similar — and run the whole process through once. Bind it, wax it or tie it, dye it, wash it, press it. Then look at it in daylight.
This one step tells you more than any tutorial: how tightly your thread holds, how far the dye creeps, whether the colour is what you expected on that fibre, and whether the cloth puckers or stiffens where you worked it. Keep the samples on a ring or pinned to the studio wall. After half a dozen you will know your own hand in each method, and choosing between wax, thread and rubber bands becomes the easy part.
Photo: Teona Swift / Pexels