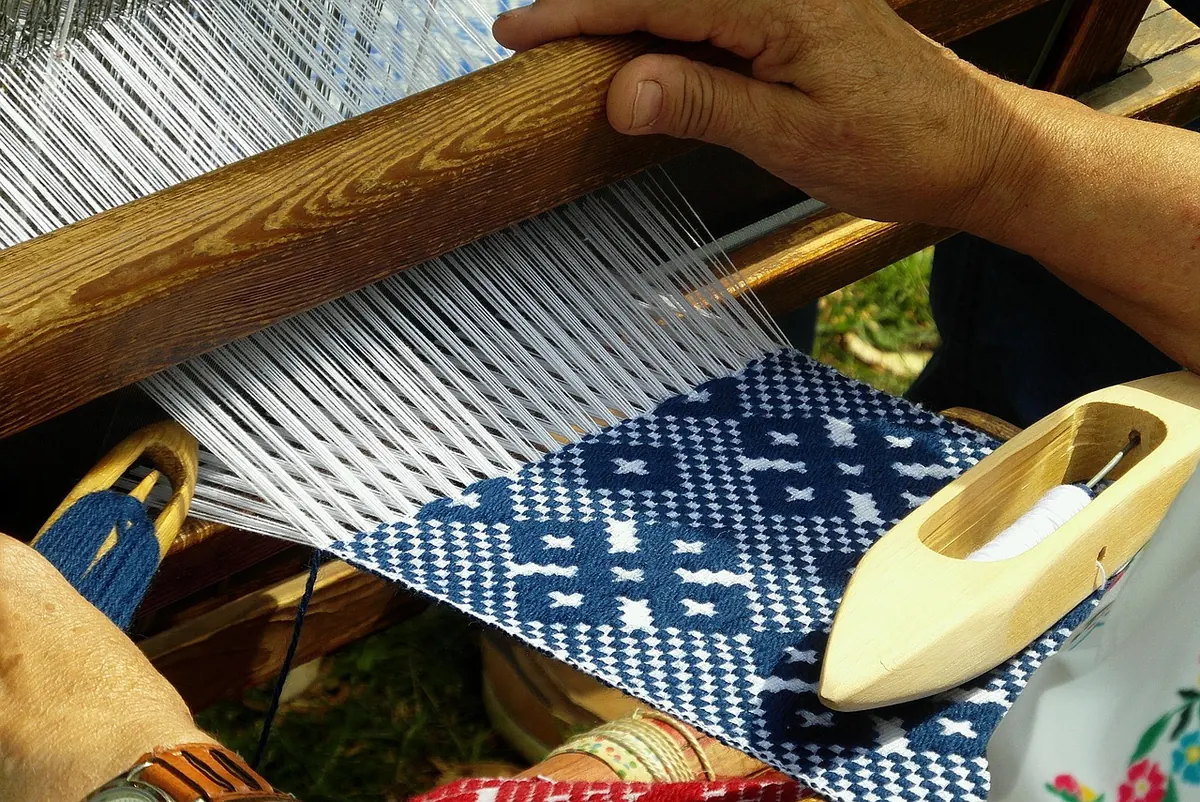
Every weaver remembers the first time they opened a pattern book and found a page of small black squares that looked less like fabric instructions and more like a crossword that had given up halfway through. A weaving draft is not code, though. It is three simple drawings that answer three plain questions: which shaft does each warp end live on, which shafts lift together, and in what order do you press the treadles. Once those answers click, the grid stops being abstract and starts looking like cloth.
What follows walks through each part of a four-shaft draft, using plain weave and twill as examples, then finishes with the checks worth doing before you thread a single heddle.
The Three Diagrams That Make a Draft
Most drafts are laid out in the same order you dress the loom, which is a quiet kindness on the part of whoever designed them. Reading downward, you get:
- Threading draft — a grid showing which shaft each warp end passes through.
- Tie-up — which shafts rise when you press a given treadle.
- Treadling draft — the order of treadles, one row per weft pick.
- Drawdown — the interlacement diagram, a preview of the cloth itself.
The first three are the instructions. The fourth is the proof. Many drafts also carry a colour order, a suggested sett and a note on yarn, but you can weave from the grids alone.
Reading the Threading Draft
In the threading grid, each vertical column is one warp end and each horizontal row is one shaft. Shafts are numbered, usually from the top down: 1, 2, 3, 4 on a four-shaft loom. A filled square means that end goes through a heddle on that shaft. A column with a mark in row 2 is an end on shaft 2; a column with nothing in it means you have miscounted.
Start by counting shafts — it tells you immediately whether your loom can weave the draft. Then look for the repeat. A straight draw on four shafts fills in 1, 2, 3, 4, then repeats. Drafts usually bracket the repeat unit so you can see how many ends it contains; you repeat that unit across the width until you reach your selvedge. A point draw goes 1, 2, 3, 4, 3, 2 and back out again, which is why it produces diamonds rather than a continuous diagonal.
One caution: publishers differ on direction. Many English-language drafts place the first end on the right and read right to left, matching the way a weaver threads from the right selvedge, with treadling read top to bottom. Italian, German and some British books do it differently. Look for a small arrow, or a note saying "read left to right", before you commit. If there is none, check the drawdown: a twill should step in one consistent direction, and if yours mirrors unexpectedly, you have read the threading backwards.
The Tie-Up: Where Your Feet Meet the Shafts
The tie-up is a small grid, usually square, with shafts in rows and treadles in numbered columns. A filled square means that shaft is raised — or on some looms lowered — when you press that treadle. It is the most skipped-over part of a draft and the one that trips up beginners most, because it is hardware rather than pattern.
Take plain weave on four shafts with a straight draw. Treadle 1 lifts shafts 1 and 2; treadle 2 lifts shafts 3 and 4. Alternate them and every other end is up, every other pick crosses, and you get the simplest cloth there is. For a 2/2 twill, tie treadle 1 to shafts 1 and 2, treadle 2 to 2 and 3, treadle 3 to 3 and 4, treadle 4 to 4 and 1 — the overlap of a single shaft is what makes the diagonal step.
Two variations matter. On a countermarche loom the shed is formed by raising some shafts and lowering others, so a draft may show both sets. And if you weave on a table loom or a rigid heddle with a multi-shaft attachment, you may be handed a liftplan instead: a list of which shafts to lift for each pick, with no tie-up grid at all. Same information, different packaging.
The Treadling Draft: Your Feet, in Order
Each horizontal row of the treadling draft is one weft pick, numbered in the order you weave them. The number inside the row tells you which treadle to press. Read top to bottom unless the draft says otherwise.
The twill above, threaded 1, 2, 3, 4 and treadled 1, 2, 3, 4, produces a diagonal running one way. Treadle 4, 3, 2, 1 and the diagonal reverses — same threading, same tie-up, opposite cloth. That is the useful thing to understand about treadling: it is the sequence, not the structure. You can change it without touching a single warp end, which is exactly why sampling pays off.
Watch the direction of the shuttle. Most drafts assume you weave right to left on odd picks and left to right on even ones, and tidy selvedges depend on it. Some drafts are marked "tromp as writ" or "treadle as drawn in", meaning you simply repeat the threading order as your treadling — easy to spot once you know the phrase.
The Drawdown: Proof Before the First Pick
The drawdown is the picture of the cloth, warp running vertically and weft horizontally. Filled or shaded squares usually mean weft sits on top; open squares mean warp does. Read it the way you would read the finished fabric:
- Do the diagonals step evenly? An interrupted twill line usually signals a threading error, not a treadling one.
- Are there long floats where you do not want them? Anything much longer than five ends will snag on rings and chair arms.
- Does the reverse side look usable? Some structures have two good faces; some emphatically do not.
Then compare the drawdown to your thread count. If the draft shows six ends in the repeat and your threading has five, the cloth will not match the picture no matter how carefully you treadle.
A Walk-Through: Your First Draft, Start to Finish
- Count the shafts and treadles the draft needs, and check them against your loom.
- Find the repeat in the threading and work out how many ends it contains.
- Confirm the reading direction from any arrows or notes.
- Convert the tie-up to your loom: treadles, levers or a liftplan.
- Write the treadling sequence on a sticky note and put it where you can see it from the bench.
- Weave a sample at least six inches long before you commit the whole warp.
When the Draft Doesn't Fit Your Loom
You will meet beautiful eight-shaft drafts and own a four-shaft floor loom. That is normal. Many such patterns have a four-shaft version printed alongside, and a surprising number of structures — twills, waffle, huck, basket — exist in simpler forms. Choose the version you can actually weave rather than the one that looks best on the page.
If you have treadles to spare but not shafts, re-tie: nothing stops you pairing shafts differently, as long as the tie-up and treadling agree. If you have shafts but no treadles, translate the tie-up into a liftplan. And if your yarn is much thicker or thinner than the draft suggests, change the sett and expect the drawdown to look squatter or taller than the picture. The structure stays; the proportions move.
Before You Thread: A Five-Minute Check
Lay the draft beside the loom and read it once out loud — literally. "End one, shaft one. End two, shaft two." Count your heddles before you start, since running out halfway through a warp is a dull way to spend an evening. Mark the repeat on the paper with a pencil so your eye can find it again after a break, and keep a notebook of what you actually wove: sett, yarn, treadling changes, and what you would do differently next time. The draft is the recipe; the notebook is the meal.
Then thread, tie up, and throw the first pick. Within an inch or two the grid will have done its job, and you will be looking at cloth instead.
Photo: Tuti Isnawati / Pexels